A couple weeks ago I bought a 2003 Mercury 9.9 horse power shallow drive outboard for my jon boat for $300.
Link to 2003 Mercury Short Shaft 9.9hp Post. It was a great deal, but it was missing its hood, cover, or to be more technical its cowl. After an hour of scouring every craigslist ad within 200 miles, Ohio Game Fishing's Marketplace, and Google I quickly discovered that buying a used cover would be extremely unlikely. I then went to Mercury's website and began looking through their parts catalog, and to my surprise the entire assembly cost well over $275. I then began to brainstorm every possible option. A day or two later I was over at my parents house playing Call of Duty Black Ops 2 with my little brothers when Tom suggested that I make a fiberglass hood for it. He told me that he uses chicken wire to make molds and that it should be fairly easy to make.
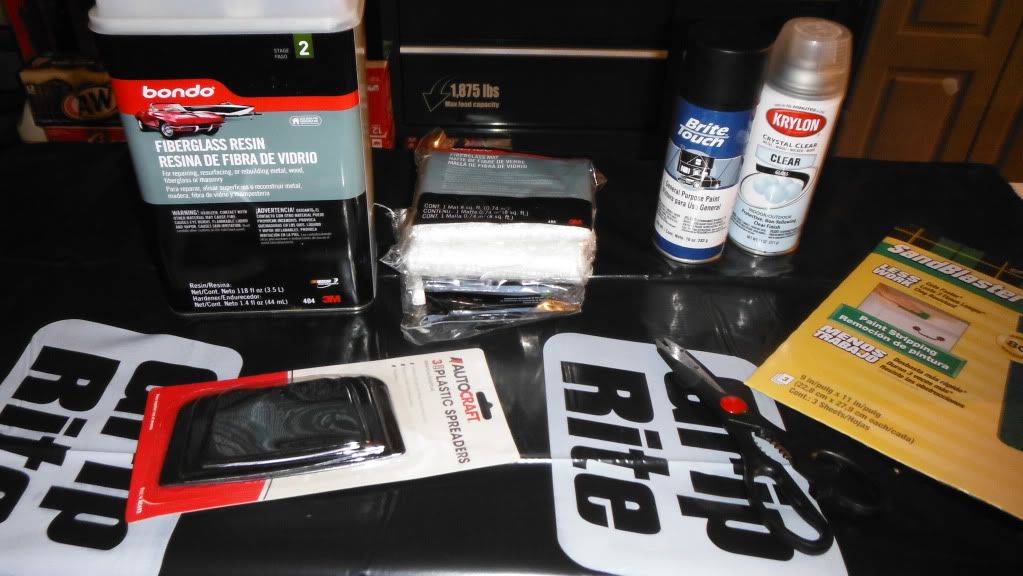
A day later on my way home from work I stopped at AutoZone to grab some supplies. $97 later I had almost everything I needed......3 packs of 8 square foot of Fiberglass Matte, a gallon of Fiberglass Resin, a pack of 3 plastic spreaders, a can of black spray paint, a can of gloss, and 80 grit sandpaper.
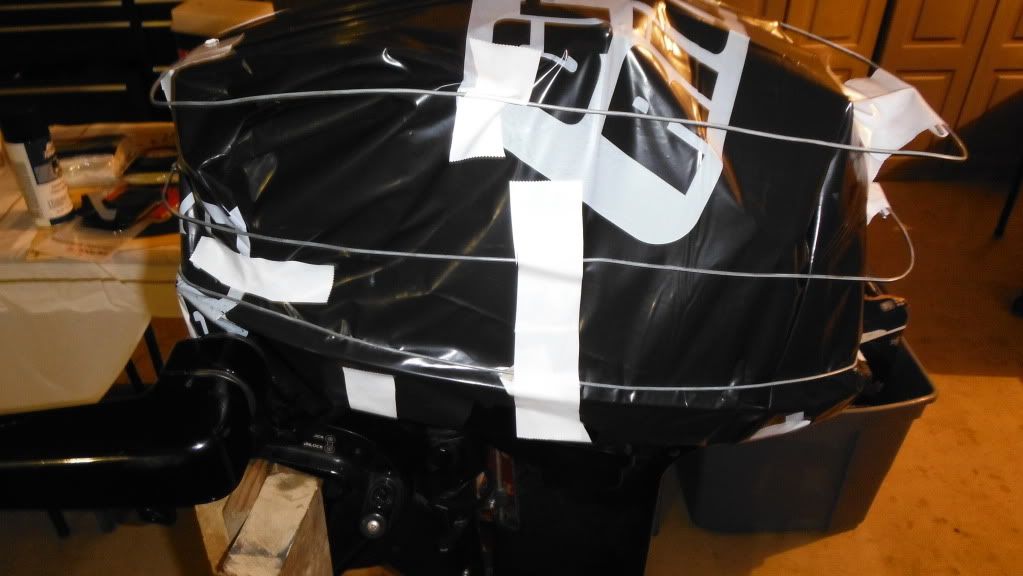
I thought we had some chicken wire around the house, but I couldn't find it after hours of searching so I had to compromise. I built a frame around the motor with 18 gauge wire one strand at a time, and then taped each wire together. Below is the three strands of wire that create my frame.
Below is a picture of the wires taped together.
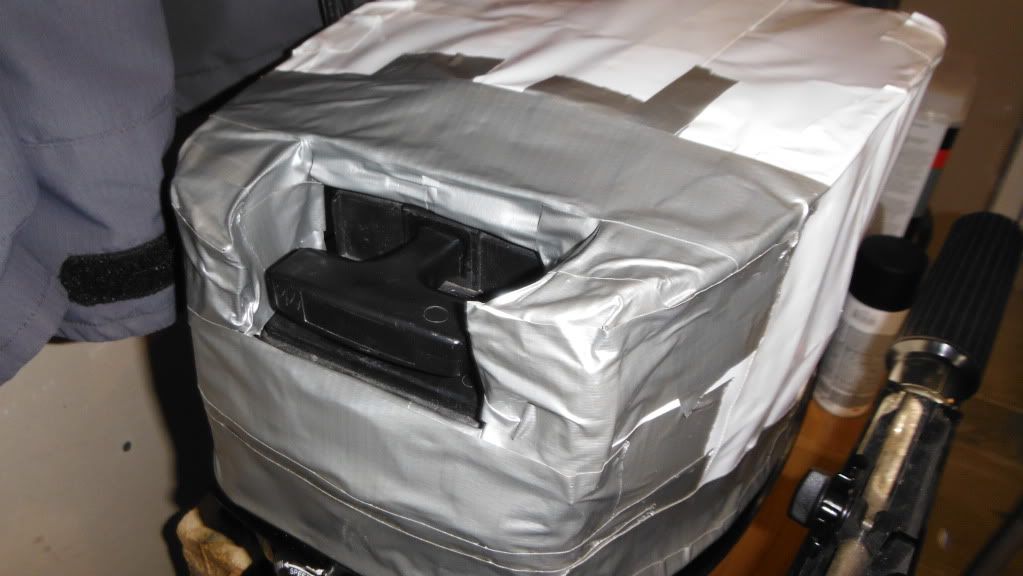
I then added some wires to the top of the motor for added support, and then finished taping the rest of the frame. I also cut out the area near the pull string and added a few L-shaped pieces of wire, to finish framing the motor. After 5 hours of tinkering with wires and duct tape I had a frame that I was content with.
 |
|
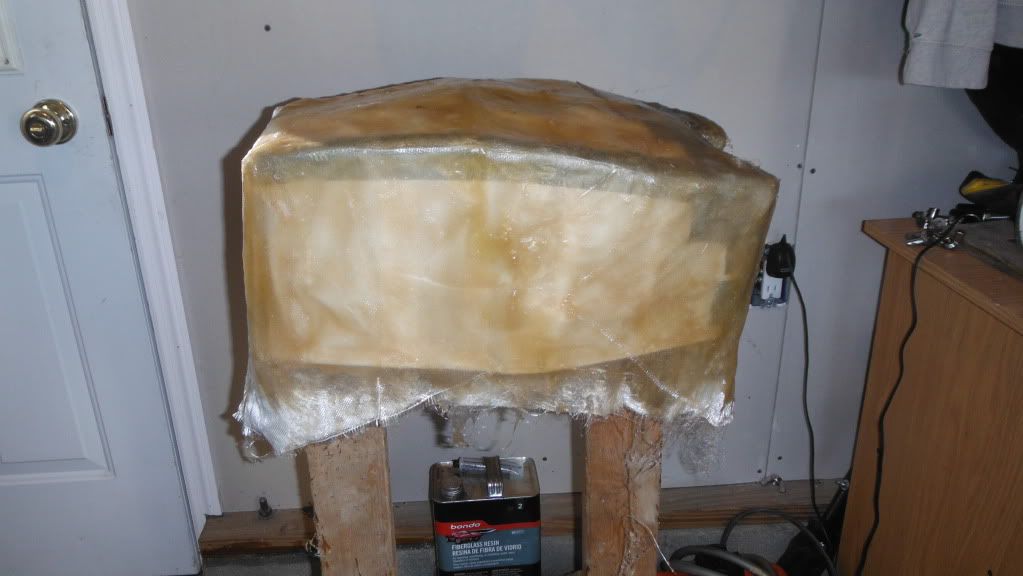
The next day we had our family Thanksgiving dinner so I knew that I'd have a few helping hands when I started the fiberglass. I took the frame and placed it on my motor stand and laid my first piece of fiberglass matte over the frame, leaving over an inch of space hanging over. I then mixed 8oz of fiberglass resin to 80 drops of fiberglass hardener and began coating the matte. I completed the first layer and let it dry so that I would have a solid foundation for the second and third matte. After it hardened I quickly sanded it with 80 grit sand paper and laid my second piece of matte. At this point I had a few of those helping hands, and I quickly got the second and third coat of fiberglass on.
I then trimmed the excess fiberglass and sanded some of the edges off. I then placed the hood onto the motor. Needless to say, at this point I was rather disappointed in the appearance.
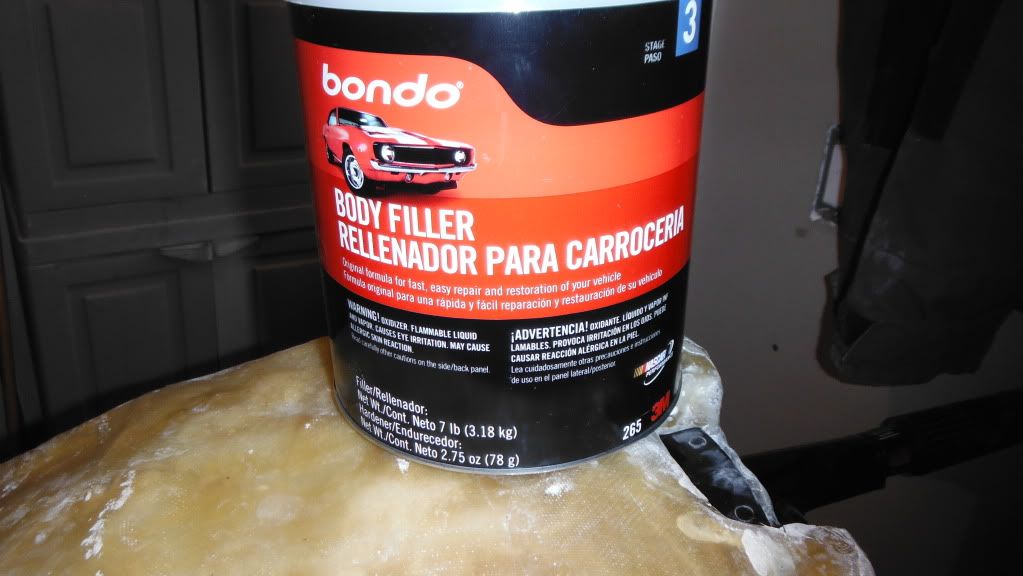
My youngest brother suggested that I coat the hood in bondo in order to fill in the low places, since he is somewhat of a bondo expert, having hundreds of hours in body work on his car under his belt, I took his advice and got a gallon of bondo for $24 that night....bringing the grand total up to $111 and well over a dozen hours of work.
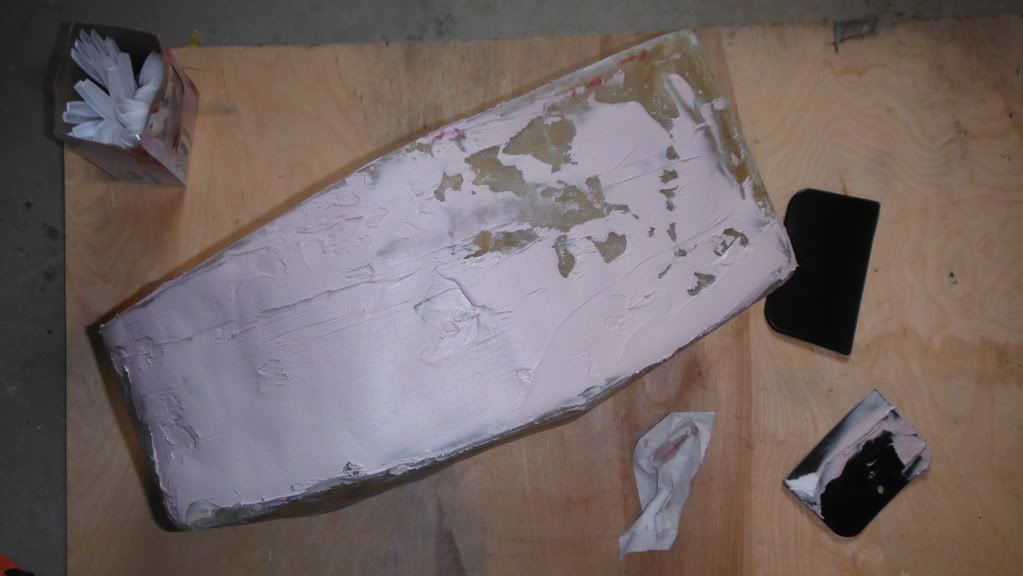
I sanded the fiberglass and knocked down the high spots as much as I could and began to add bondo to the low areas. I applied golf ball size chunks of bondo to each side, giving each side 3 to 4 minutes to dry before handling.
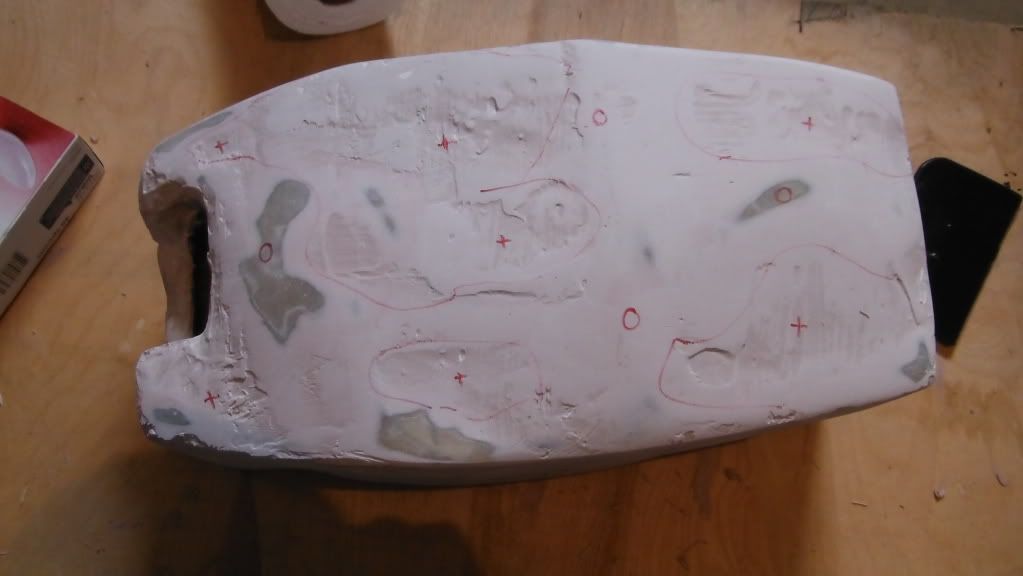
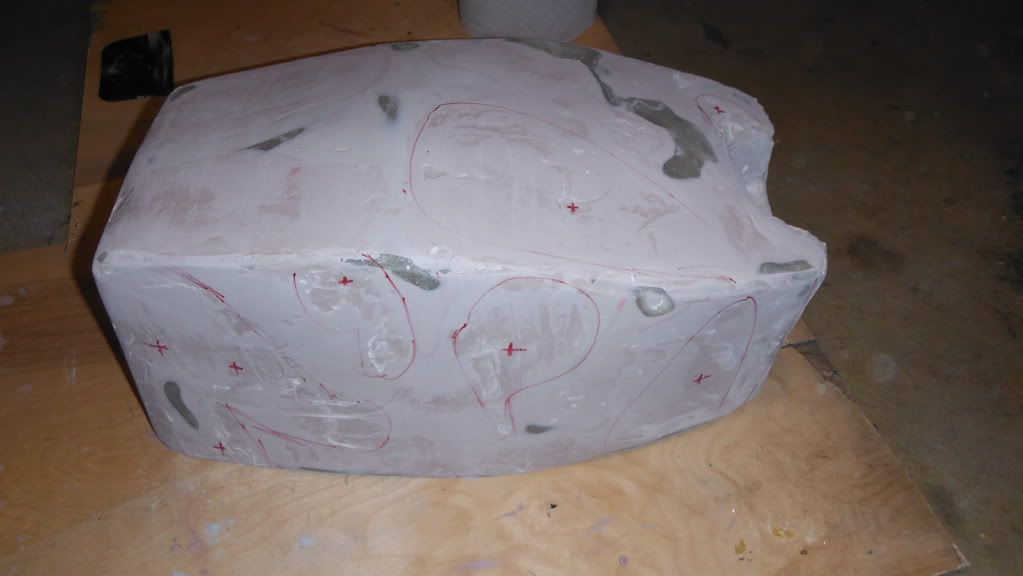
After coating each side, I waited an hour and sanded the bondo until I hit fiberglass. I then took a red permanent marker and marked the fiberglass spots (the areas that could not be sanded anymore) with O's, and the low spots with a '+'. As seen in the pictures below.
 |
| First Round of Bondo |
 |
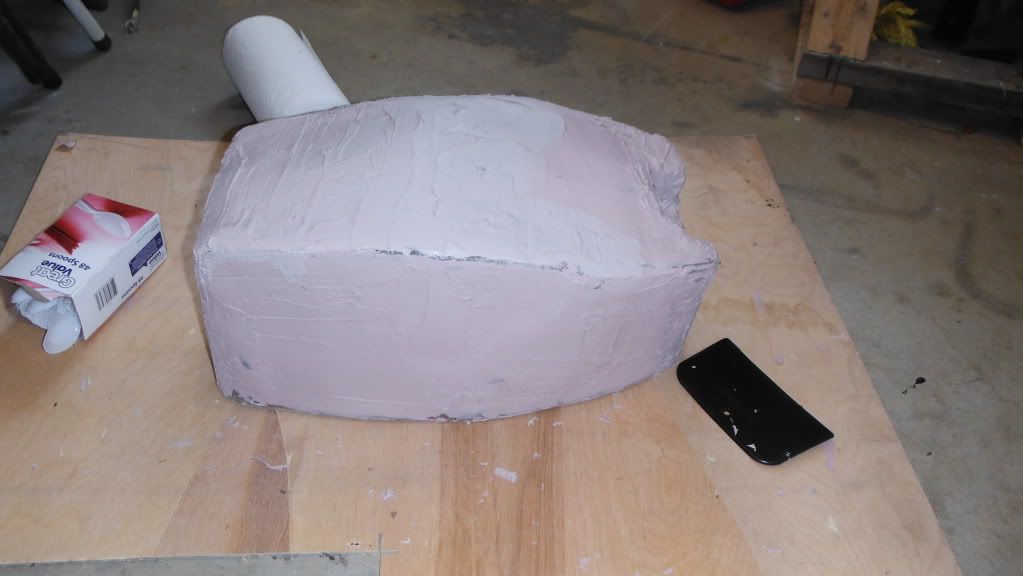
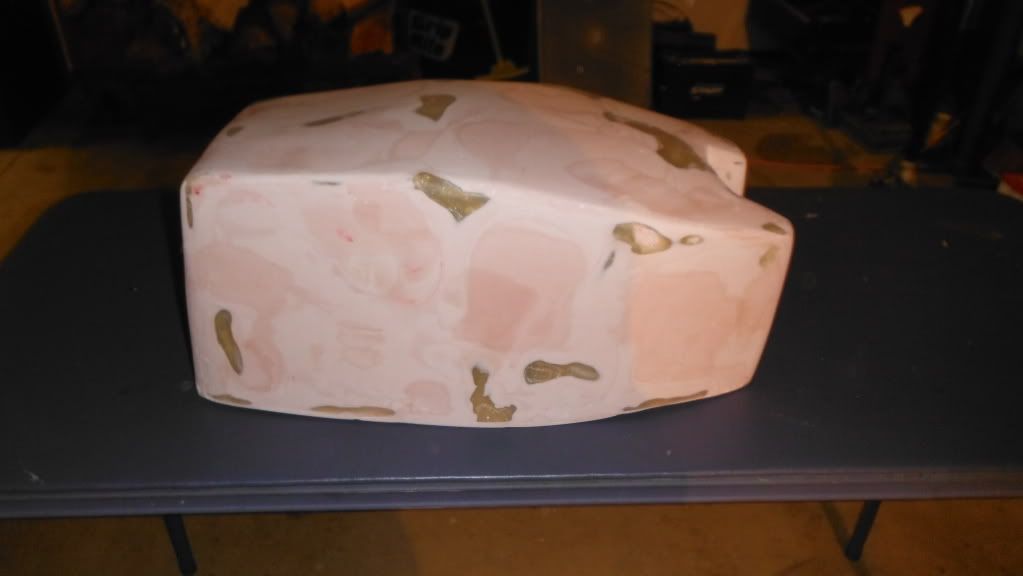
| Third Round of bondo. |
After five coats of bondo and five rounds of sanding I had done as much as I was willing to do. I felt that at this point I had peaked, I would add coats of bondo in order to fill pin holes, and then I would sand and more pin holes would appear.
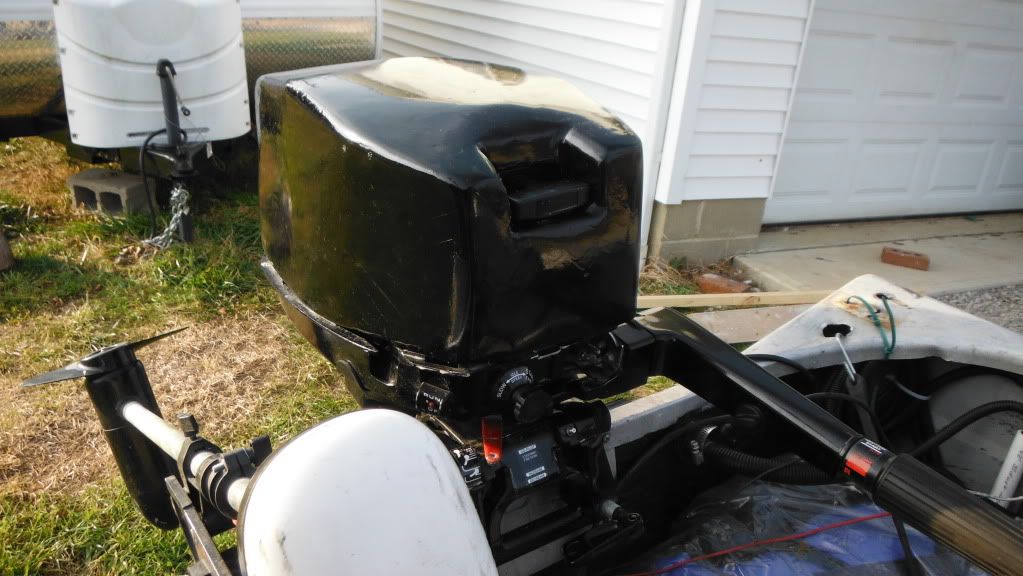
I then started the slow process of painting the hood. At first I was doing really well, painting a light coat at a time. However as I began to put the clear coat on the runs began. I then added a bolt for the rear factory latch on the motor and put the hood on the motor.
 |
| After Bondo. |
After $111 and approximately 30 hours of work I had a redneck fiberglass outboard cowl/hood/cover. Maybe in a few weeks I'll get a few decals to cover up some of the imperfections, such as dimples, and runs.
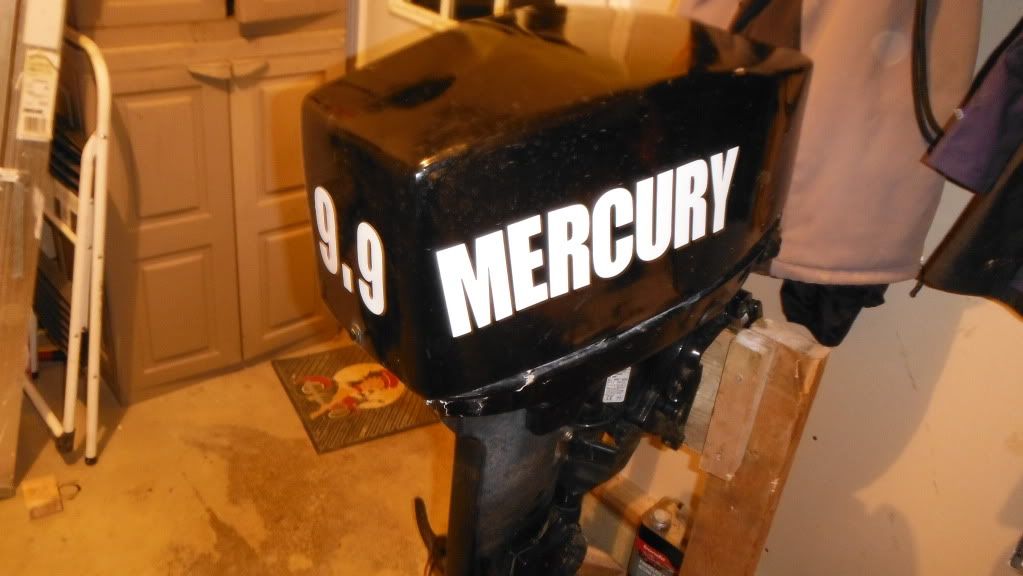
Update: 12/23/2012:
I went to walmart and picked up some white vinyl stickers to add "Mercury" and "9.9" to the motor cover. I took painters tape and marked off 2" from the bottom of the cover, in order to keep the lettering straight. I then carefully added each letter.


0 Response to "Building a Fiberglass Outboard Cowl (Cover/Hood)"
Post a Comment