Last winter we started experimenting with tying our own tandem rigs for crappie fishing. Mostly just tying multiple jig hooks a foot apart on are line with hopes of increased crappie catch rates in extremely cold water. In Ohio, it is legal to have up to 3 hooks, so this is what we stuck to. At the time I didn't know of any particular knot to use so I just tied clinch knots leaving a long tag to tie more hooks onto. This worked okay but I imagined there was a better way. For the most part I just thought it would be a hassle to retie after snagging, especially in the 30 degree weather at the time. So I didn't look into it more until recently.
After a quick google search I found a knot that looked quite interesting, the dropper loop knot. It looked easy to tie and you could tie it into a line without having a tag end, thus you could add a knot in the line anytime without removing your end hook. So one evening I sat down and learned how to tie it. Knots are never as easy to tie with monofilament line as the rope or braid that you will find in almost every example on the Internet. It wasn't as easy as it looked with monofilament line but still very simple. Here's how I learned to tie it.
Start by making a loop or an overhand knot in the line, either will work. The bigger the loop the bigger the ending dropper loop will be.
Next, wrap the loop around the line 6-8 times. This can be difficult at first, just simply alternate which hand is pinching the line as you make each half turn of the loop. I found its also important to have each end of the line attached to something such that the ends of the line aren't free to twist as you try to make wraps. If the line is on a reel just tie your hook on the end of the line first and attach it to an eye on your rod. Here's what it should look like after the wraps.
 |
|
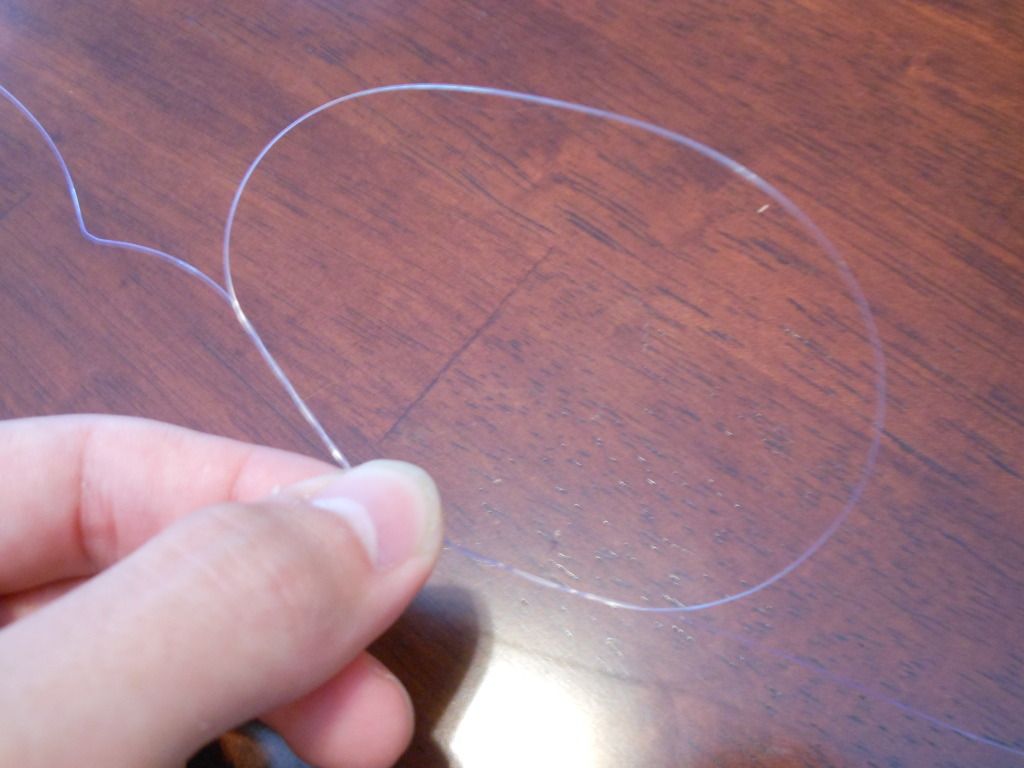
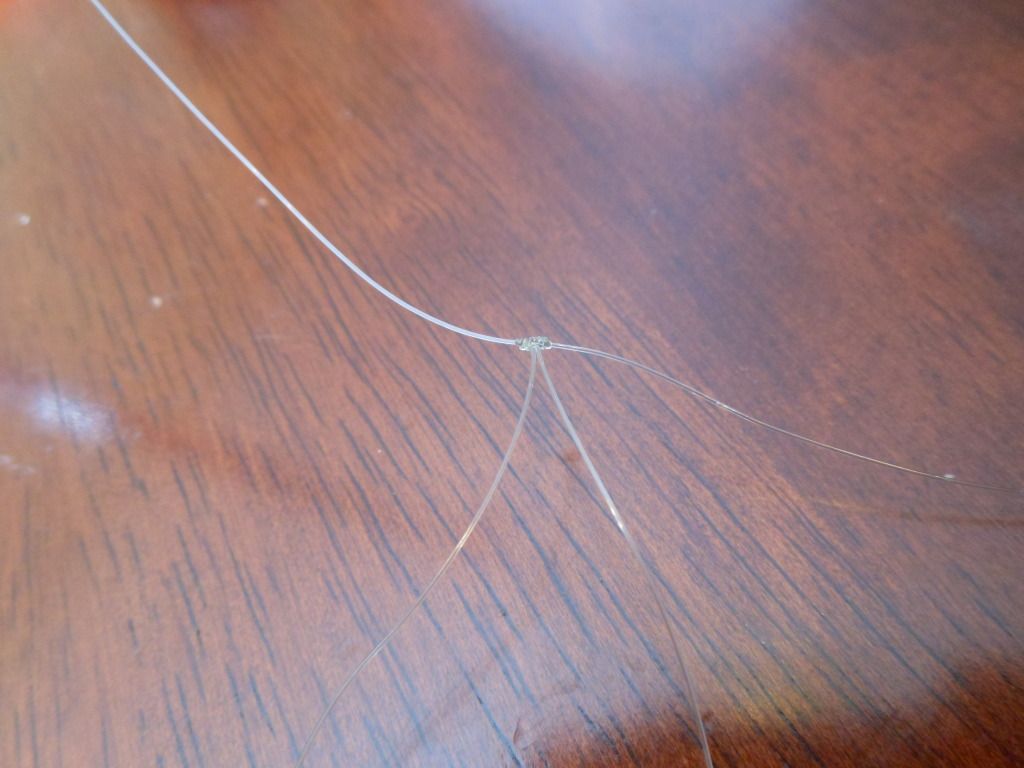
The next part can also be a little tricky but after this you are home free. What you need to do is feed the big loop through the center twist in the line (where my thumb is pinching the line in the picture above). Try to create a gap in the twists without letting the twists unravel and push the top of the loop through. Once you get this started it may be necessary to pull the loop through with your mouth as you hold each end of the line with your hands. Once you've done this, you can pull each end of the line tight simultaneously and you are finished. If the knot slips you most likely didn't get enough wraps in. Here's what the final product looks like.
 |
|
 |
|
From here you have two options for tying on a bait to the loop. You could cut one side of the loop leaving one line to tie a hook to. Or, you could tie a new piece of line to the loop to tie your hook to. Although I have not tried it, another option would be to slide all your hooks on the line first (unless you can slide the hooks over your ending hook). With this method you would tie the knot with the hook on the loop, this may actually make tying the knot easier. However this would leave your hook free to slide around on the loop, this may or may not be desirable.
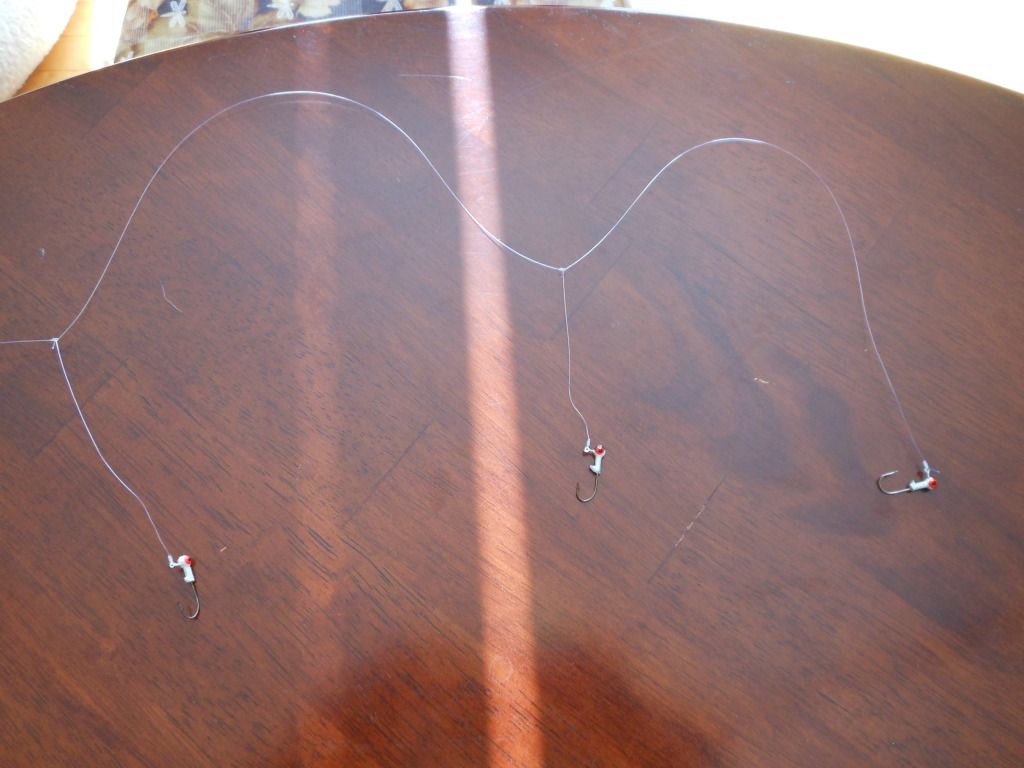
I have not yet tested the strength of the line after tying this knot in it. Nor have I tried it while actually fishing. I do look forward to trying it out soon and I will most likely blog the results. Here's a picture of a finished rig I did with 1/32 jig hooks.


0 Response to "Dropper Loop Knot"
Post a Comment